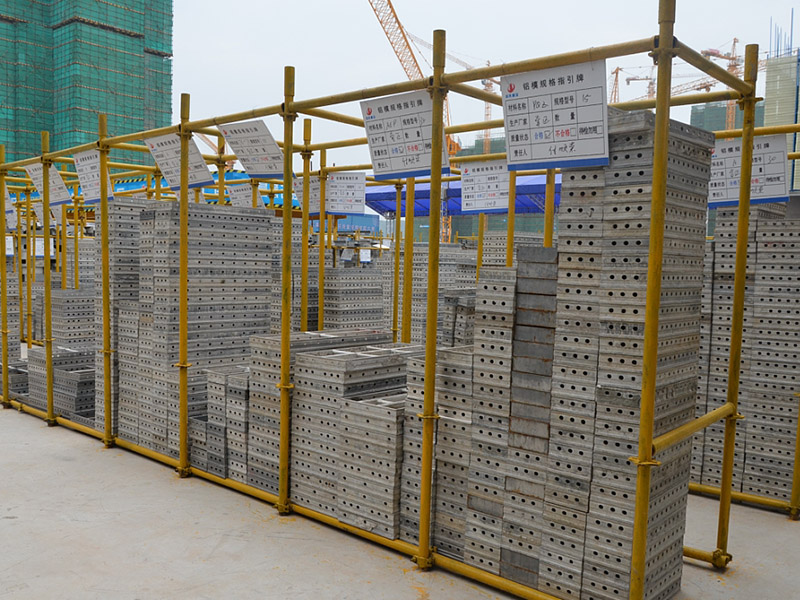
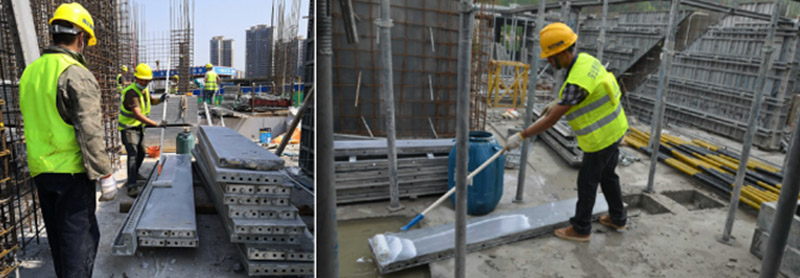
When the formworks arrive jobsite, strictly discharge the formworks and land by its marked area no.. Like all Area A formworks need put together and clearly separately with other panels.
Before Installation
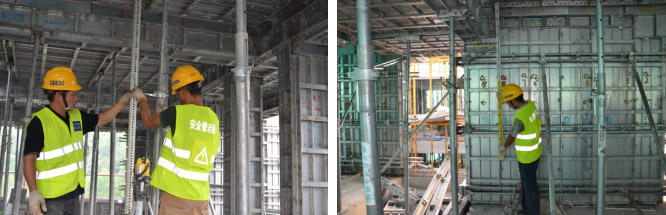
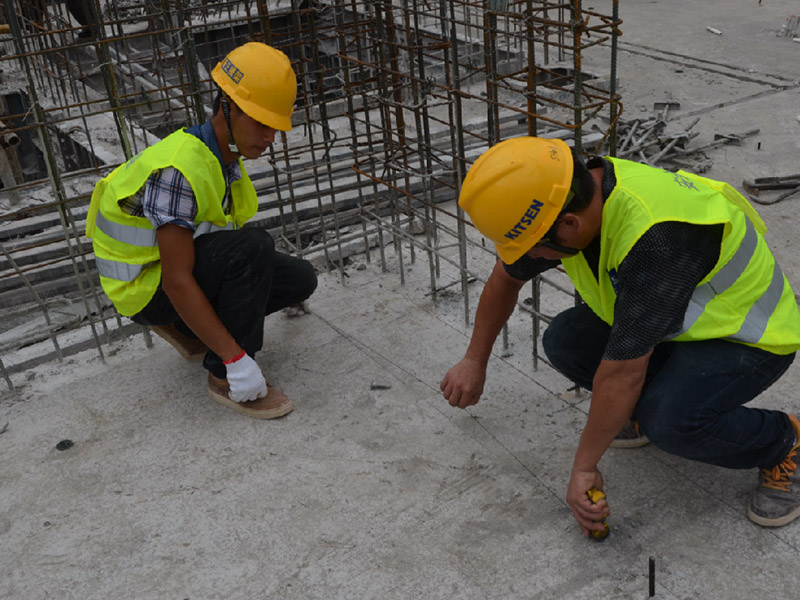
1. Set Ink-line and inspection
Lines need to set: axis line, structure line, structure control line, elevation line.
Inspection method: Recheck with the drawing ruler to observe whether the line is wide and unclear, and whether the control line is complete.
2. Concrete surface leveling
Flatness of the ground: ensure the flatness of the ground within the 100mm width of the installation wall post.
Check method: Mark the 500mm elevation point of the pouring surface on the wall column reinforcement, and the distance between the points cannot be greater than 1500mm. An elevation point needs to be added in the middle of more than 1500mm. When leveling, draw the line with the elevation point as the reference, and measure the ground to the line with a tape measure The distance should be controlled within the range of 505mm-500mm, and the distance between the check density points and the points should not be greater than 300mm.

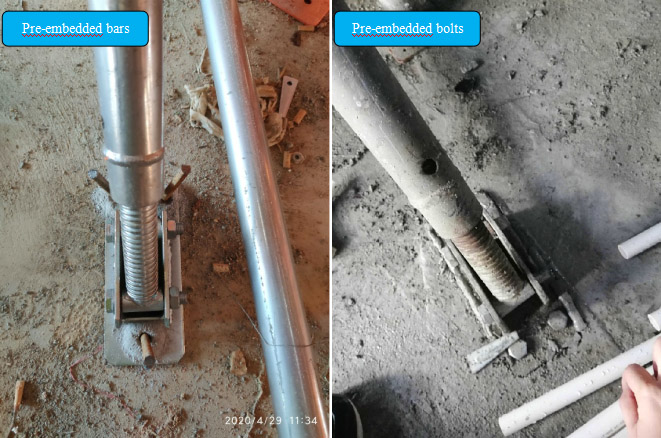
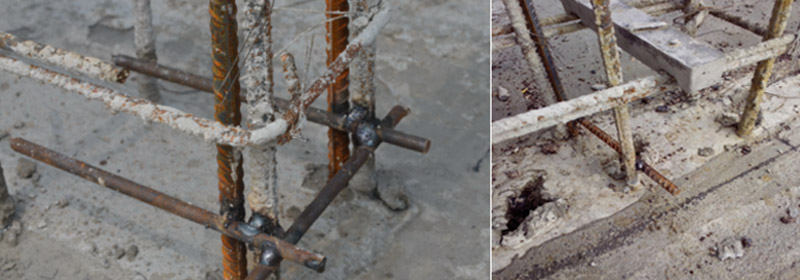
3. Tie Rebar and set position steel bars
Set position steel bars: Use steel bars welded on the vertical steel bars of the wall /column as the positioning point when installing; the height is 40-60mm from the floor, and the spacing does not exceed 800mm; the internal corner position must ensure at least one positioning bar in each direction; The length of the positioning steel bar shall be equal to or smaller than the cross section of the wall column by 1-2mm. The positioning ribs must be welded at more than two points to ensure that the welding is firm,
Operation method: Make a mold of equal width according to the control size of the control line. When welding, one side of the mold overlaps with the control line, and the positioning steel bar overlaps with the other side before welding.。
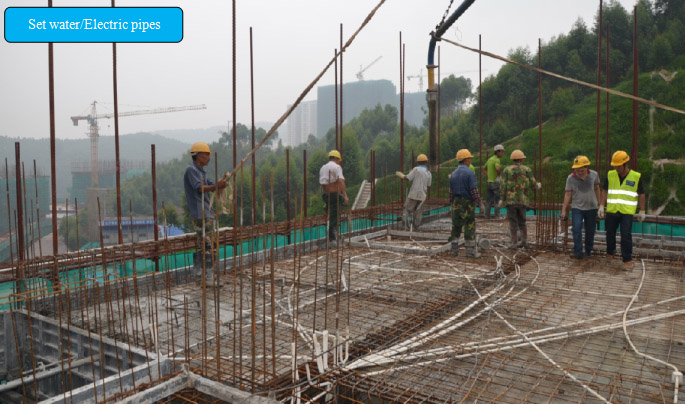
4. Tie bars and water/electric pipes
install the water and electric pipe and control box before formworks installation
Installation Order:
Wall/column formworks installation —— wall/column aligners installation —— Plumbing braces installation—— wall/column verticality adjustment(first time)—— Beam bottom formworks installation—— Beam Bottom requested height adjustment (second time)—— Beam side panels installation —— Slab connection angle installation —— Slab beam installation—— Slab panels installation —— Outside wall kicker panels installation —— Total Verticality adjustment (final time)
Before install wall/column panels, brush water-based release agent on the panels (the side face to concrete)
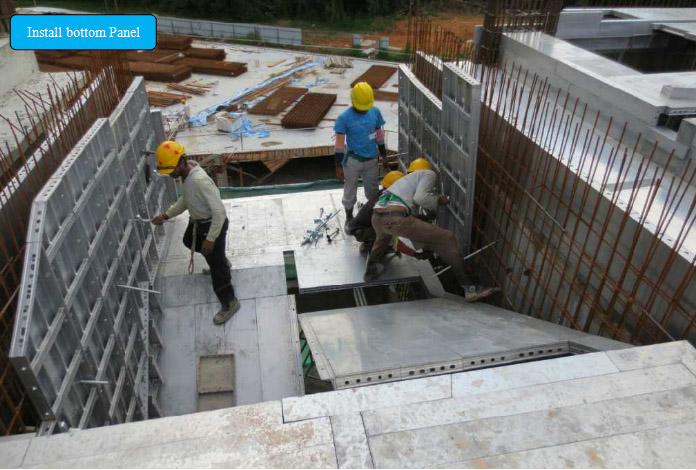
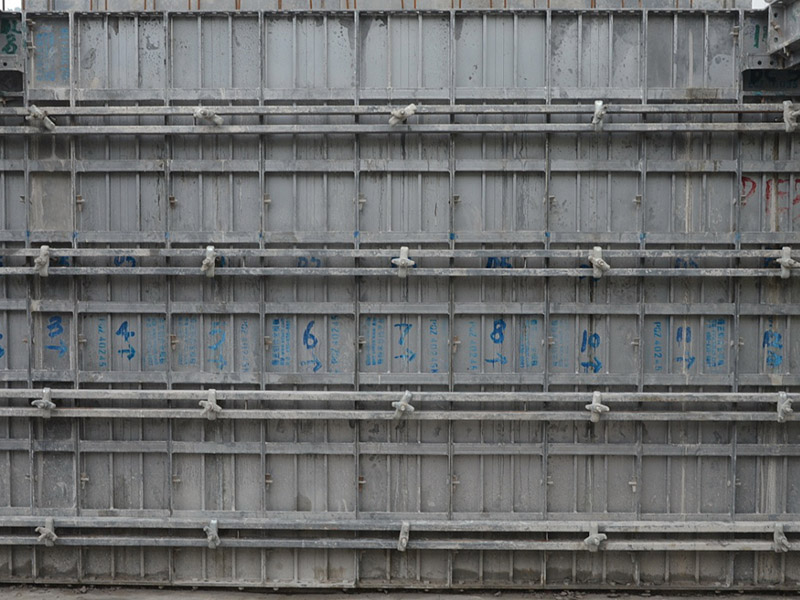
2. Install wall/Column panels in one side first.
Make sure to set the lock pins/Wedges every 300 mm.
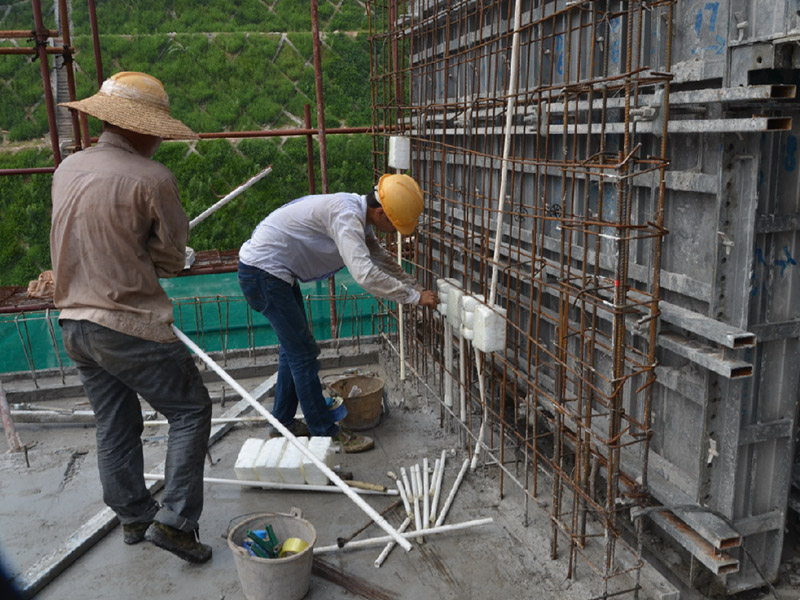
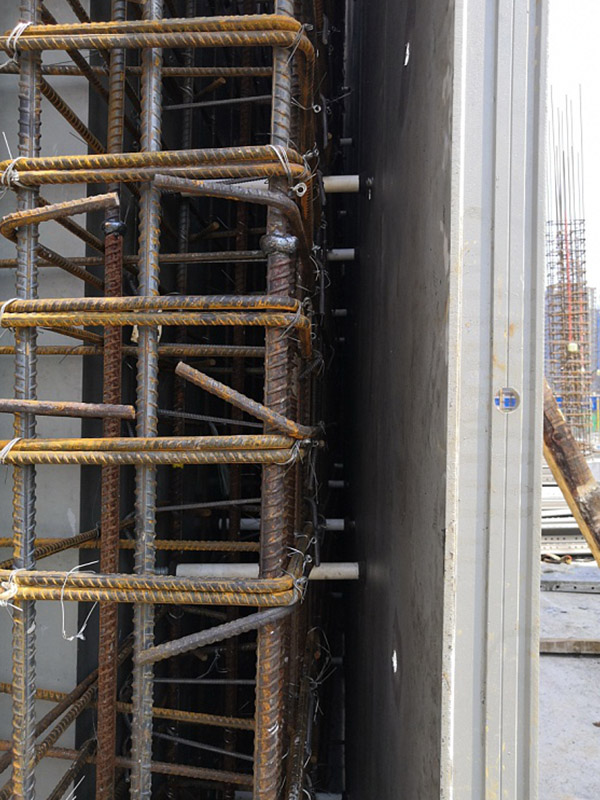
3. Set the tie plates or tie rods
Before install the panels on the other side, set the tie rod and PVC pipes. Then Set Aligners
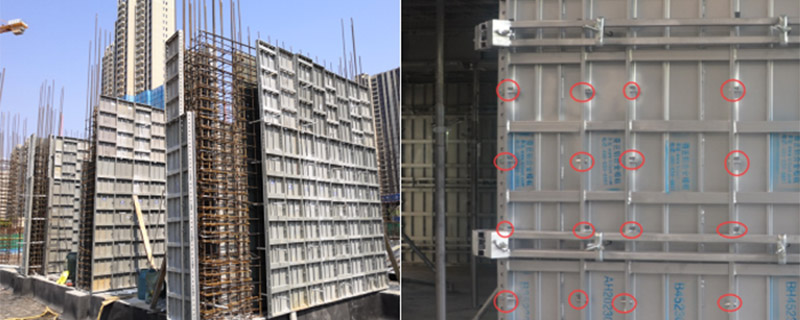
4. Set Aligners: After install well the wall/column formworks, set the aligners.
Inside of the all set 4lines aligners, and set 5 lines aligners outside the wall. The First aligners is 250mm from the ground, the other is 600mm space each.
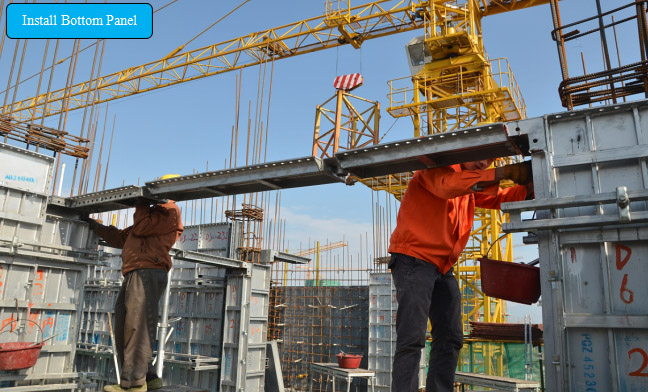
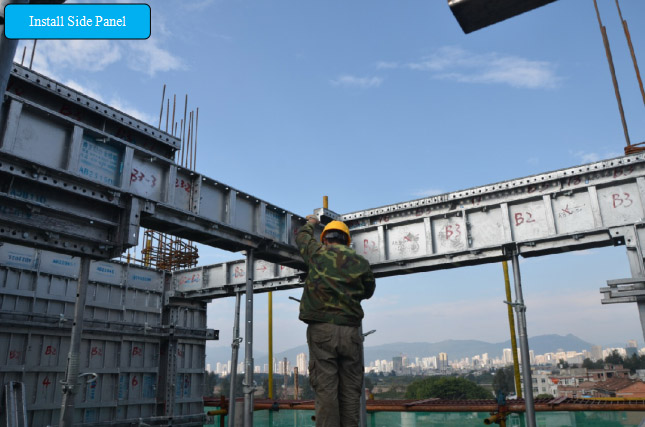
5. Beam formworks installation.
Set beam bottom panels from two ends to central site. Make sure the two end fixed well. Check the verticality and horizontality after installed.
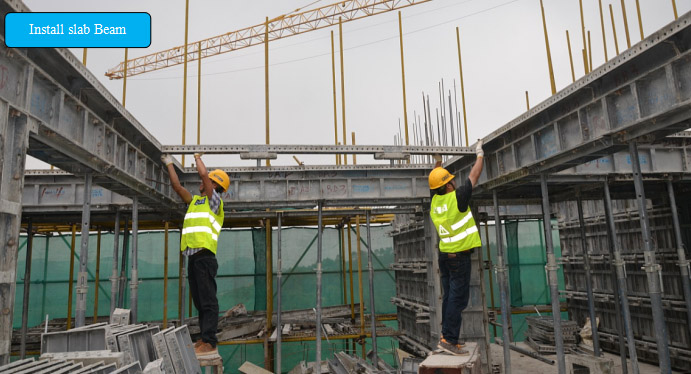
6. Slab formworks installation
Install the fix angle first, If there is steel bars blocked, brush release agent first.
Install the slab beam following the beam drawings.
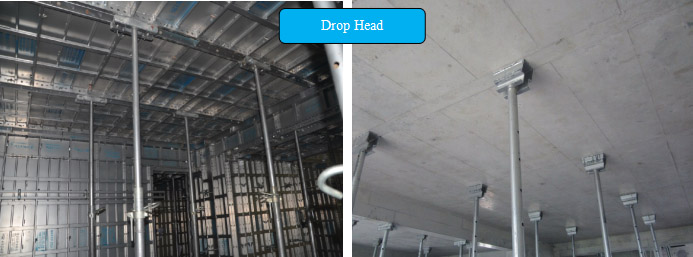
7. Drop head.
Drop head position was strictly forbidden to move, until the concrete reach 100% dry. (usually 21-27 days after concrete pouring)
8. Staircase installation
Install the bottom panels of the staircase form, after tie steel bars well, install the cover panels.
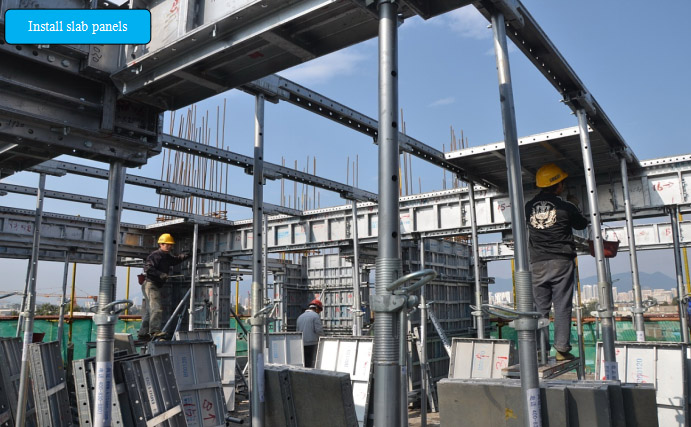
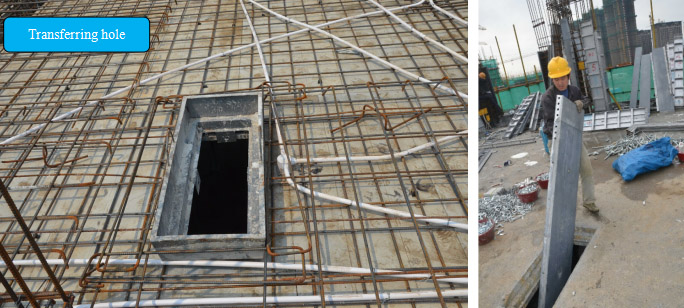
9. Set Slab panels transferring whole
For slab construction, before tie steel bars, workers should set the whole formworks fist. the holes position will be marked on the drawings. Like the panel transferring hole is used to fast-to-transfer the panels to upper floor.
10. Install the floor Water and Electric pipes/boxes
The pre-embedded water/electric pipe/boxes should be accurately marked by the control line, to prevent mixing the panels and need open extra hole on the panels
11. Seal Panel Bottom.
Use wood batten or concrete to seal the gap at bottom of the panels, like The lower part of the first floor wall column facade, the reverse wall facade and the elevator shaft shall be reinforced with wooden square pads to the floor elevation.
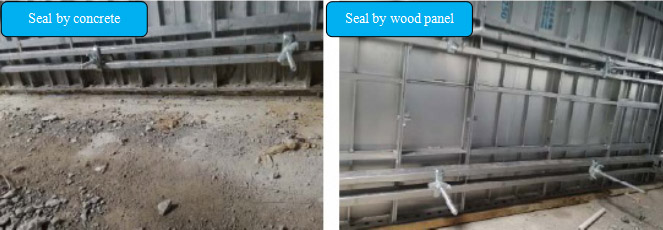
After the wall column concrete is poured, workers should be arranged to clean the mortar in time to avoid setting the mortar at the bottom of the formworks, causing dismantling difficulties or damage to the formworks.
12. Set Pre-embedded part for Plumbing braces
Set Pre-embedded part for Plumbing braces strictly following the drawings.
13. Check and adjust the verticality and horizontality
After the wall column concrete is poured, retest and recall the wall column Formworks to ensure verticality and flatness.